Sync a SharePoint library to your computer
This article will help you if you have been provided a link (URL) to a SharePoint library and you would like to sync that library to your computer. Syncing it to your computer will make it easy for you to access its documents. Once the library is synced to your computer, you will be able to open/modify/add documents in the library the same way you do so with other local documents on your computer through your file explorer.
Article Index:
IMPORTANT!
Syncing a library to your computer will take up very little space on your computer. This process will only sync the names of the files and the folder structure to your computer. Only the files you then open on your computer will be copied to your computer and take up space.
Sync a SharePoint library to your computer
To use these steps you must have received a link (URL) to your Sharepoint library. This link will look something like this:
https://SPNAME.sharepoint.com/sites/LibraryName
NOTES: These steps are shown to sync the library on a Windows 10 computer, but you can follow the same steps on a Mac (though the screens will vary). You will need to install the OneDrive app from the Apple Store before starting these steps. Please see more information at the bottom of this article in the FAQs section.

Log into O365
Open a browser and log into O365 through the following address: https://office.com

Use the SharePoint library link
With the browser page open to O365, click the link you were provided. This link may be in an email, or you may open a new tab in the same browser you used in step 1 and type in the full link URL. The link should look similar to:
https://SPNAME.sharepoint.com/sites/LibraryName

Select the Documents link
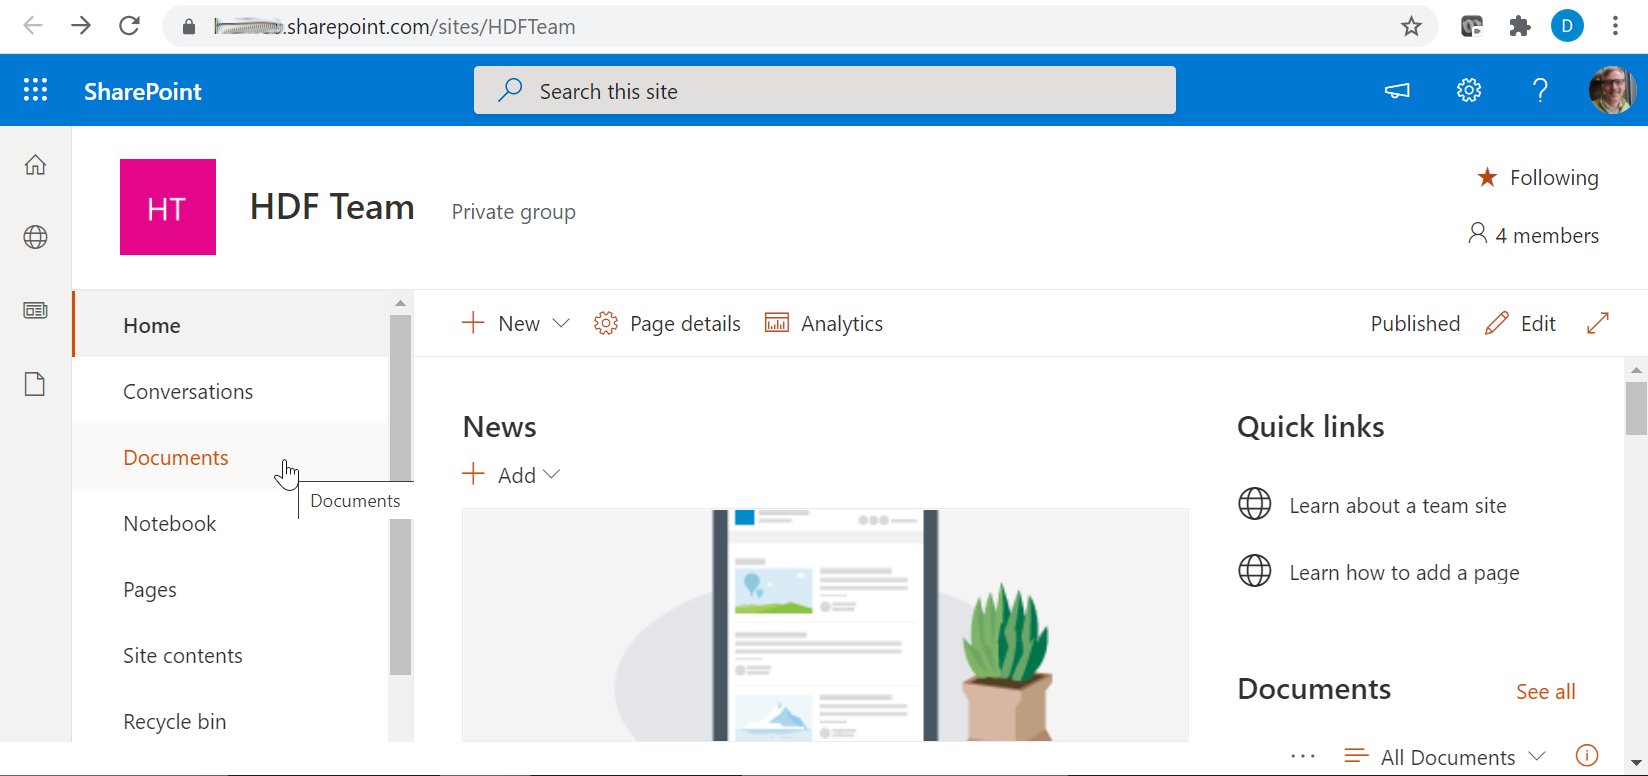
You should now see the SharePoint library homepage, as in this view:

From this view, please select the “Documents” link on the left side.

Select Sync
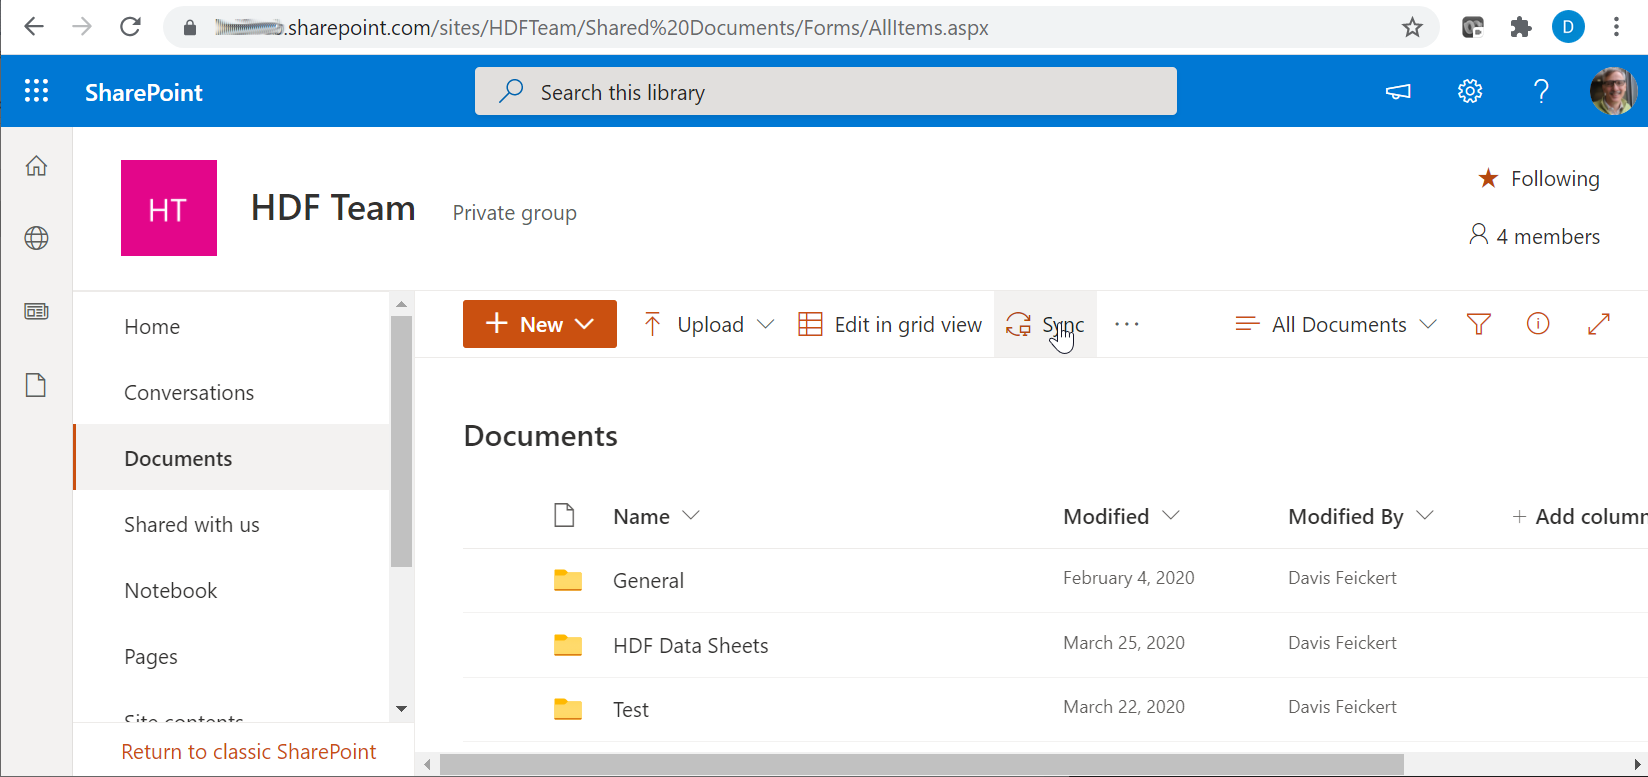
You should now see the contents of the SharePoint library as in this view:

From this view, please click the “Sync” icon.

Open OneDrive
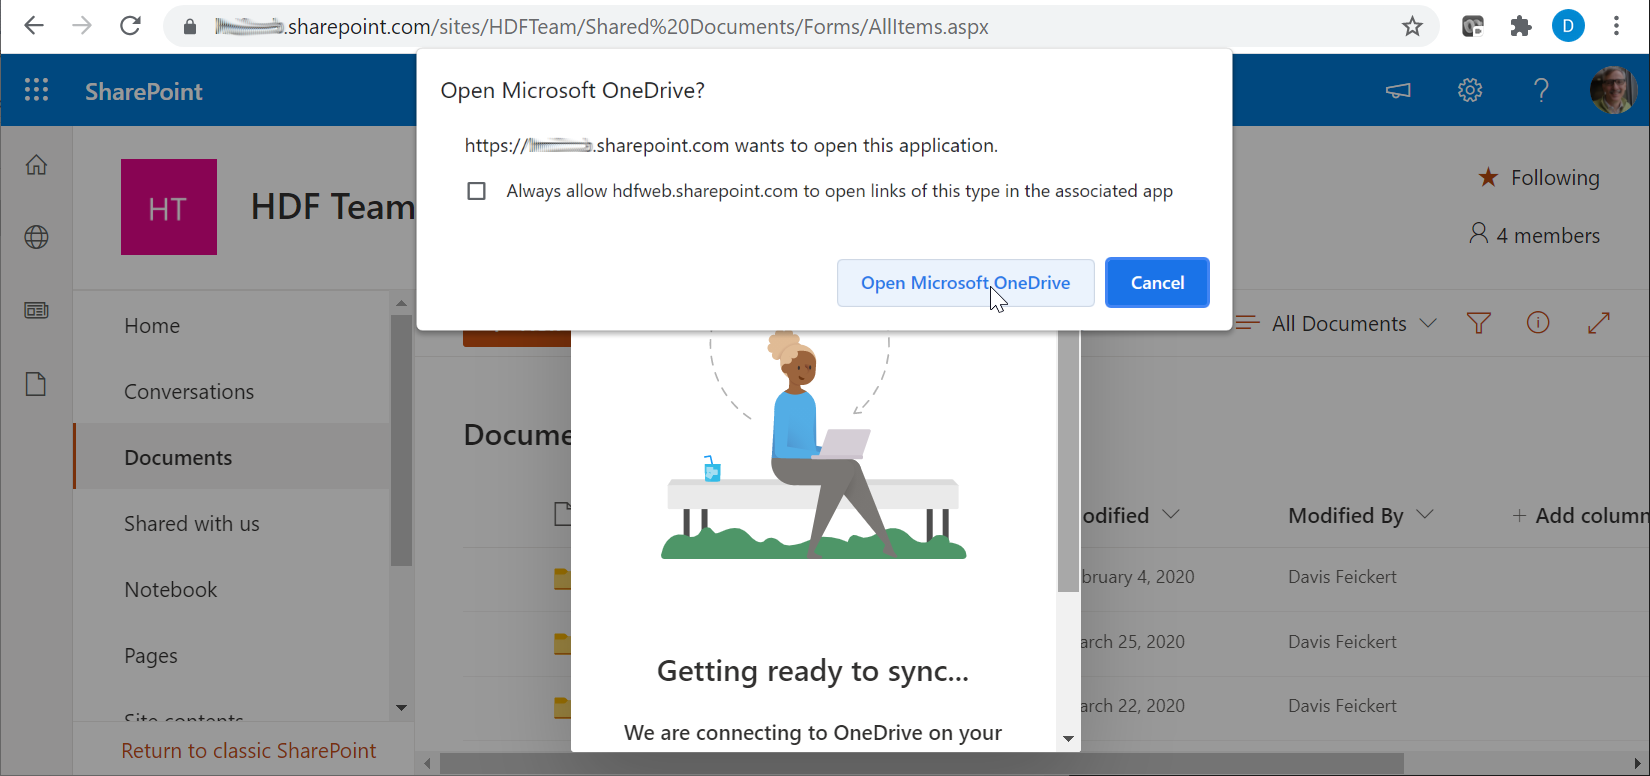
You will now get two popup windows as in this view:

On the upper window, please click the “Open Microsoft OneDrive” button.

You may be finished
If this is the first SharePoint Library you are syncing to this computer, then you will need to continue with the remaining steps.
If you are already syncing a SharePoint Library to this computer, then you can skip to step 12.

Set up OneDrive
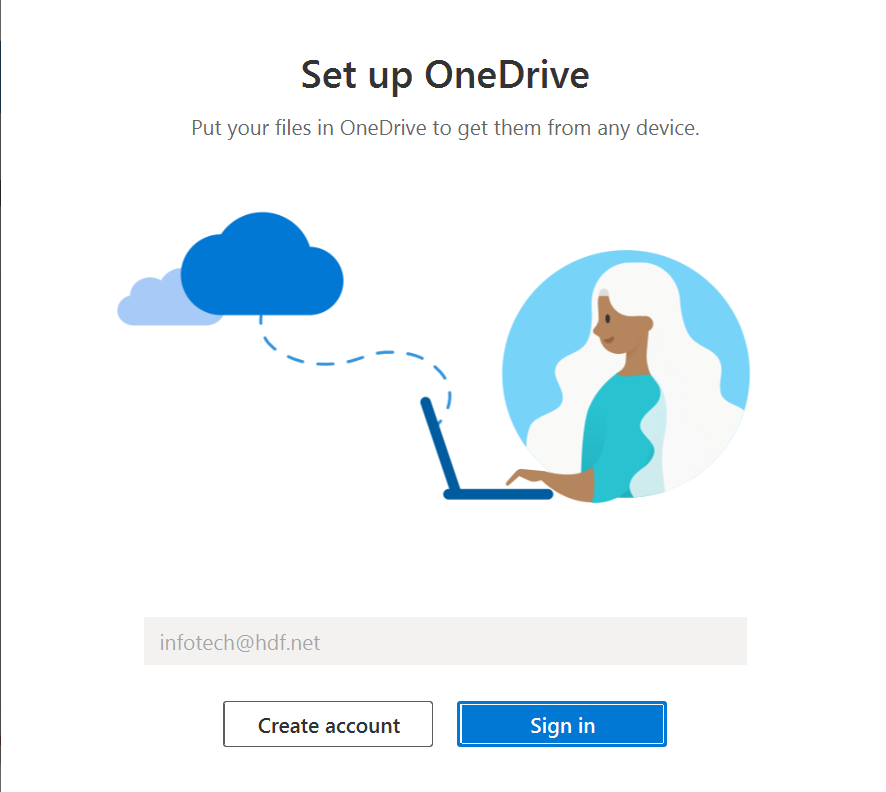
Since this is the first SharePoint Library you are syncing to this computer, you may need to log into your OneDrive account. In this case, you will be presented with this popup:

Please confirm that the email address is correct, and then click the “Sign in” button.

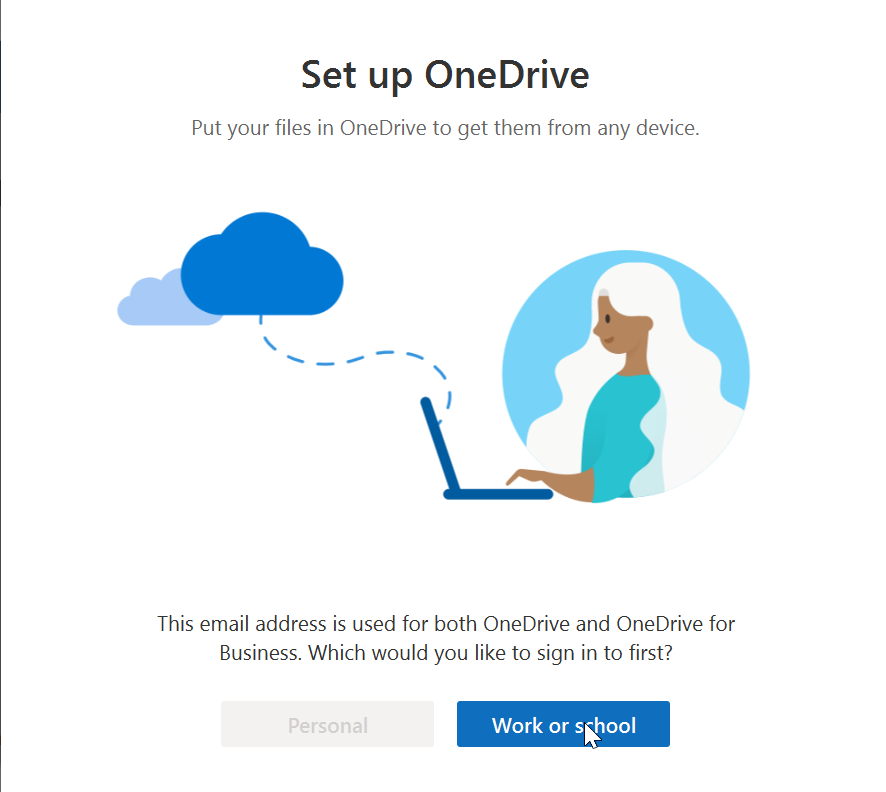
Select Work or School address
If you are prompted to select the type of email address to use, then please select “Work or school”:


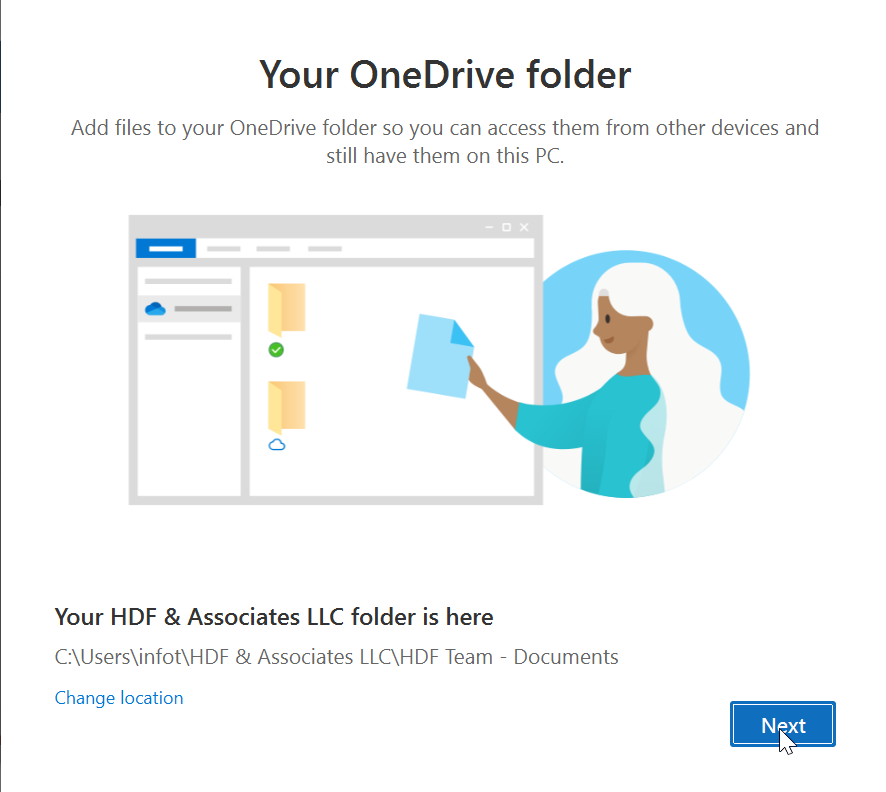
Confirm folder location
You will be prompted to confirm the location for your OneDrive folder (i.e. where your SharePoint library will sync). Please do NOT change the location and just click the “Next” button.


Click Next, Next, etc.
You will be prompted with several pages of information about the features of your new service. Please just click the “Next” button on the bottom of each page.

Open your OneDrive folder
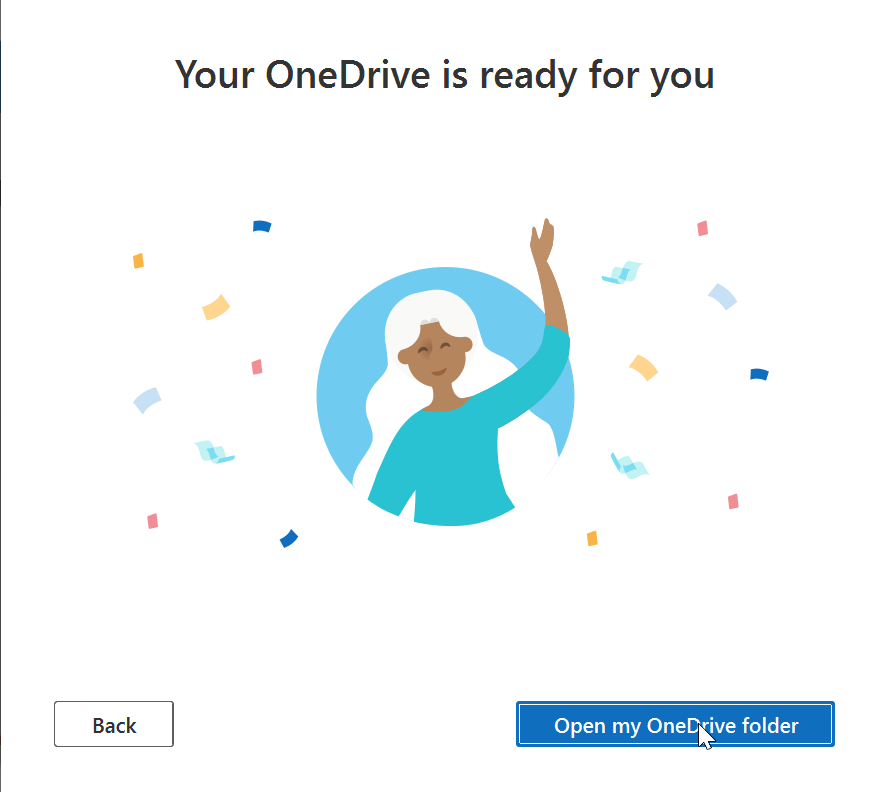
The last page will look similar to this:

Please click the “Open my OneDrive folder” button.

File Explorer
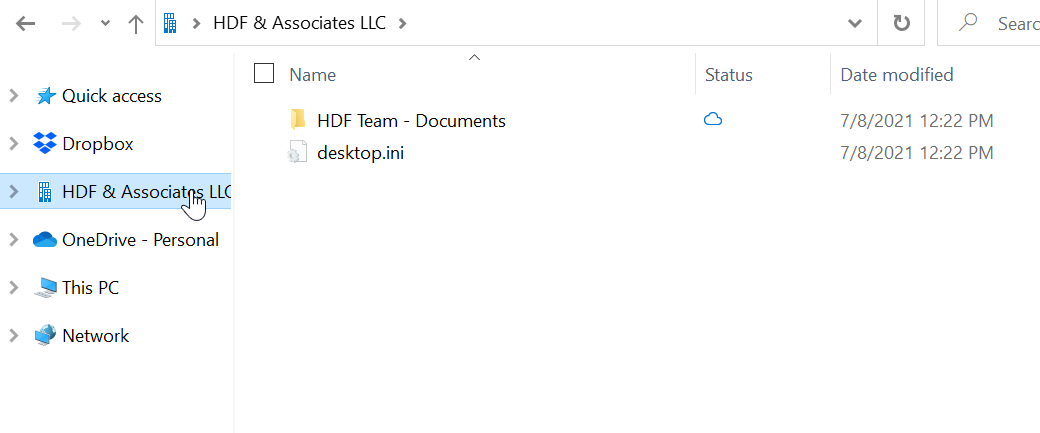
You will now be presented with your File Explorer showing you the new SharePoint library:

In this view you see the new SharePoint header on the left “HDF & Associates LLC” and the SharePoint library in the main pane “HDF Team – Documents”
FAQs:
How do I use SharePoint, now that it is synced to my computer?
If you have not used SharePoint before or you would like a refresher, then please refer to this article: https://hdf.net/azure-o365-cloud-by-hdf_shared-files/
I received this message about a folder already existing when I wanted to sync a SharePoint library. What does it mean?
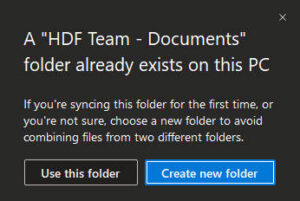
If you have previously synced this same library to your computer, and then stopped syncing it, it will have left the previously synced folder behind. This prompt is asking if you want to sync the library to the same folder as before, or if it should sync to a new folder. If you are syncing again after just a day or so, go ahead and select “Use this folder”. If it has been longer since it was synced to your computer, then we suggest you select “Create new folder”.
MAC support:
- MACs are supported, provided that you are running a version of macOS *above* 10.13.
- Please download and install “Microsoft OneDrive” from the App Store, before following the steps above. The icon will look like this:

- You don’t need to configure OneDrive, just download and install it, then open your browser to “https://office.com” and follow the steps above.
- Once you have synced the library, it will show up in your Finder program.
If you have questions about this, please let us know and we will be happy to assist you.
Take care,
